I love a good souvlaki or gyro, it's one of my ultimate comfort foods. But it's always a massive inconvenience to have to go out to the shops to buy pita bread and even when you do find a decent type, it's always old and stale and just all round unpleasant.
This is a super simple recipe that's easily made by hand, or with a stand mixer. It's authentic too - there's no milk - just flour, water, yeast, salt, sugar and olive oil. And let's be realistic, I think home made bread is always better than anything made commercially.
Because this is a relatively low hydration dough (62.5%) it's easy to work with and not too sticky.
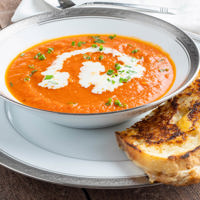
It's perfect for serving with gyros or souvlaki, and for cutting into wedges to serve with dips like Tzatziki or Greek Spicy Feta Dip "Tirokafteri".
What is Greek pita bread?
Greek Pita bread is a soft and fluffy yeast bread that's cooked in a skillet and eaten with souvlaki, gyros or used to dip into Greek dips like tzatziki, tirokafteri, taramasalata, etc. It's also great with falafel, hummus, or can be cut up and be baked into pita crisps.
What you need to make Greek pita bread
- Stand mixer - you don't need a stand mixer, but the recipe is written for use with one. I have some notes below for making it by hand.
- Heavy-based skillet - preferably cast iron, you need a skillet with a heavy base so it can put the heat into the pita bread.
- Scales - bread ingredients really needs to be weighed.
- Rolling pin
Greek pita bread ingredients
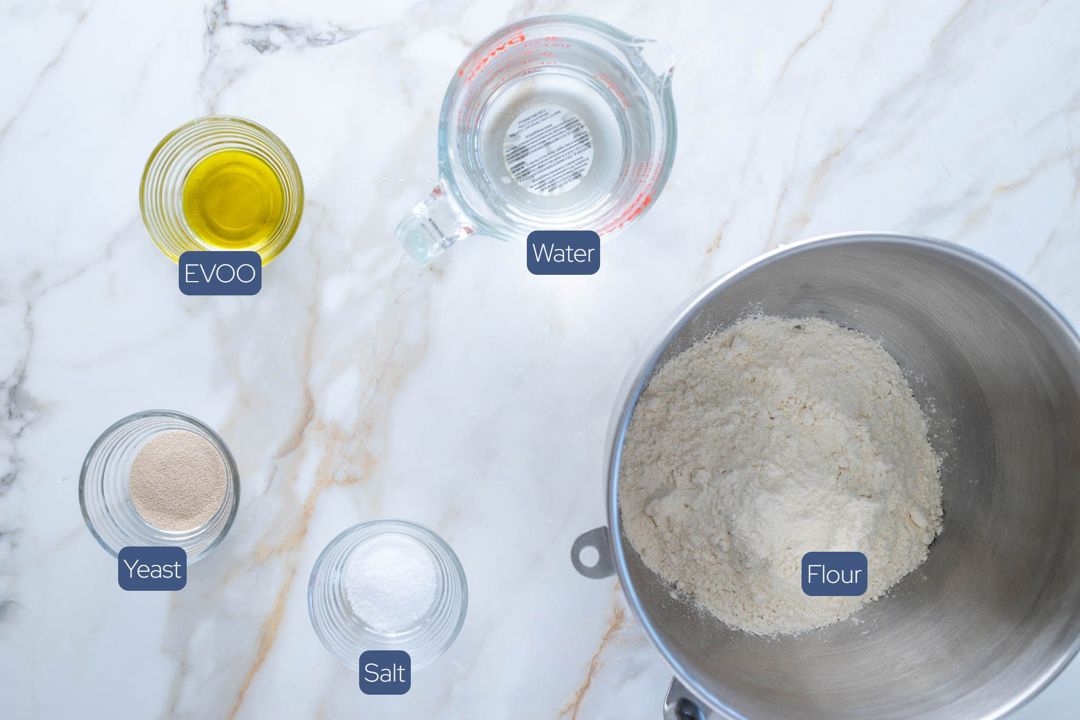
As is common with most good breads, the core ingredients are
- Flour
- Water
- Yeast
- Salt
We also use some extra-virgin olive oil and sugar to improve the dough texture and moisture.
How to make Greek pita bread
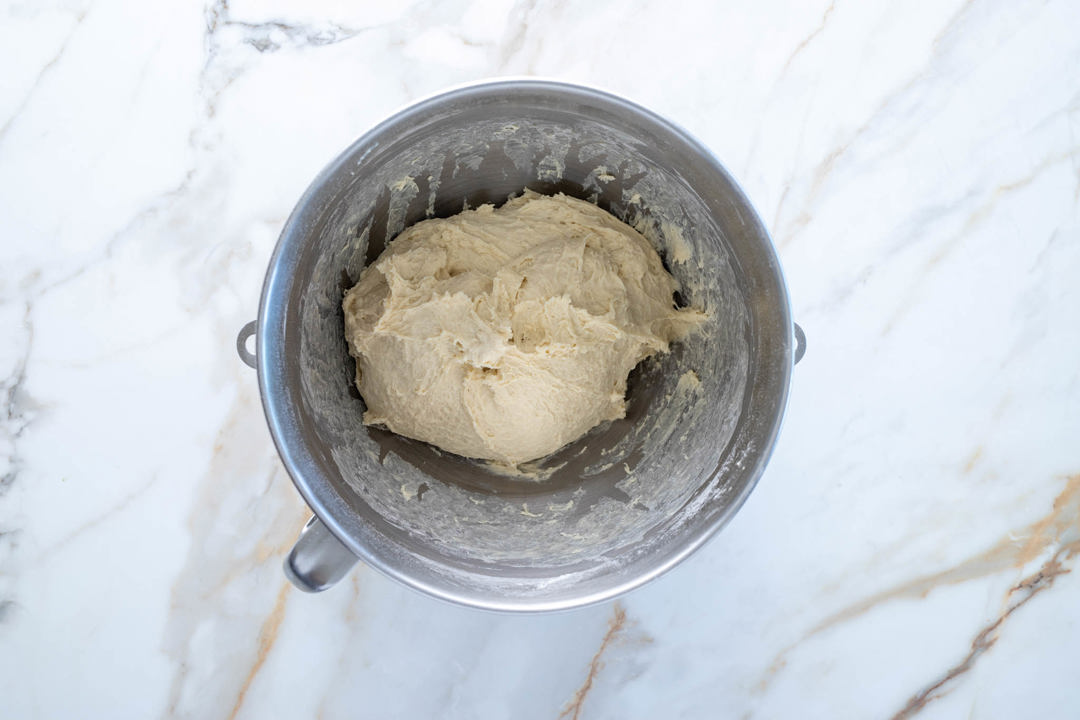
Combine ingredients - combine all dough ingredients together in your stand mixers bowl.
Mix - using a dough hook, mix for 8 minutes on low speed (1).
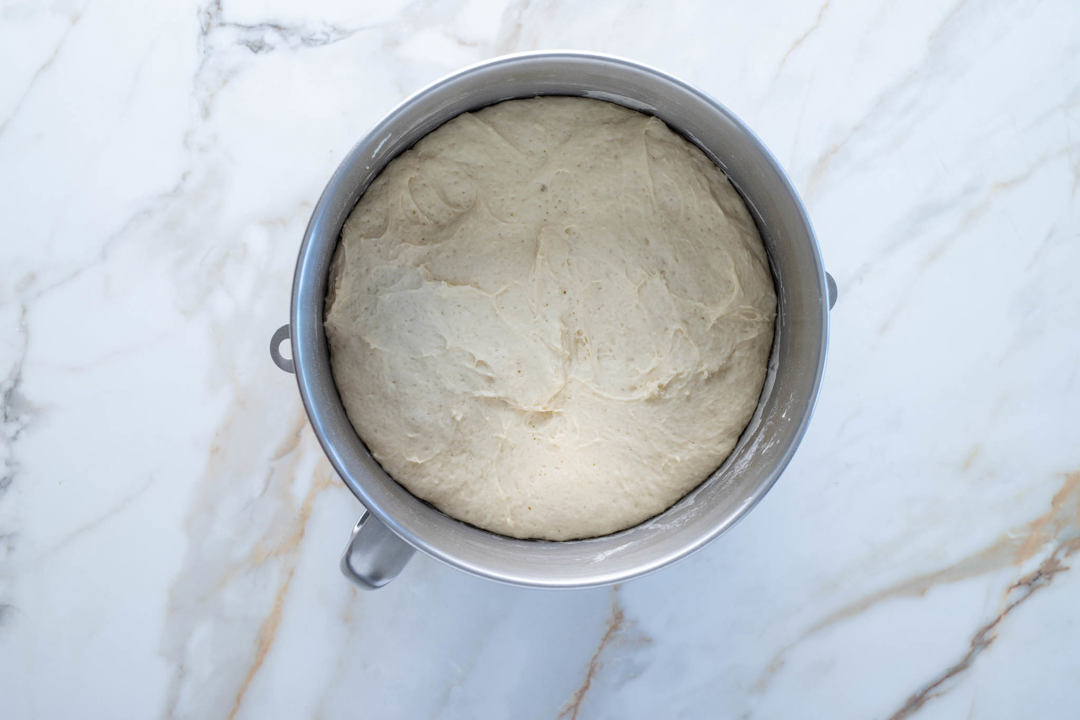
Bulk ferment - remove the bowl from your stand mixer and cover with a tea towel and place in a warm place until the dough has doubled in size (about an hour).
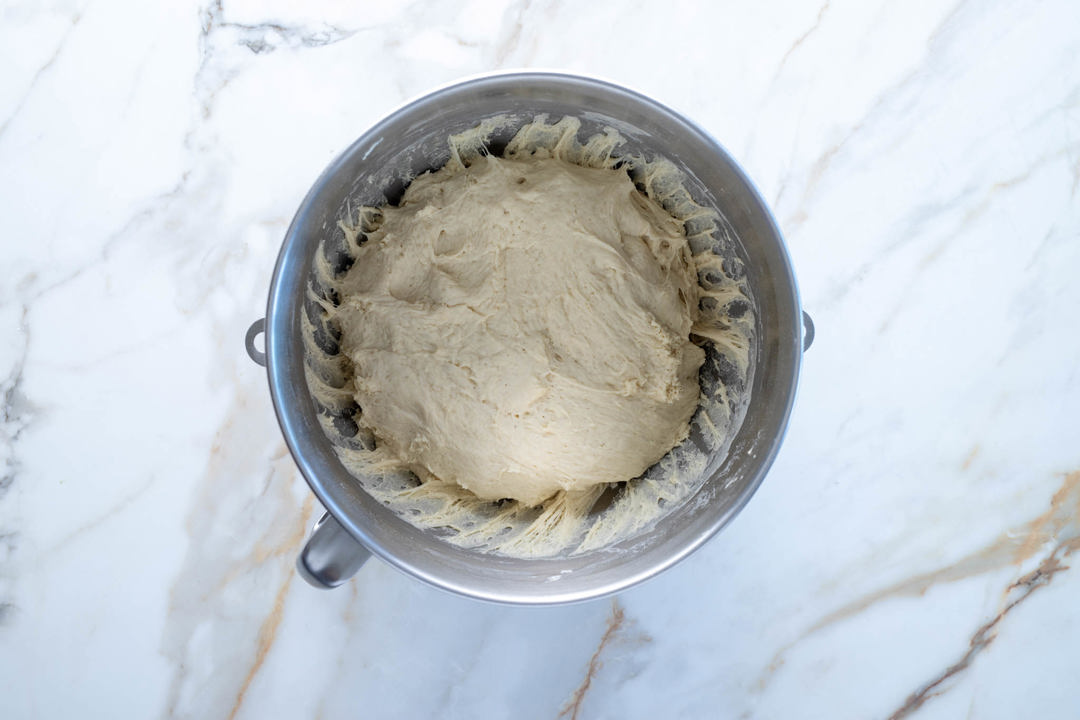
Degas the dough by tearing it away from the side of the bowl.
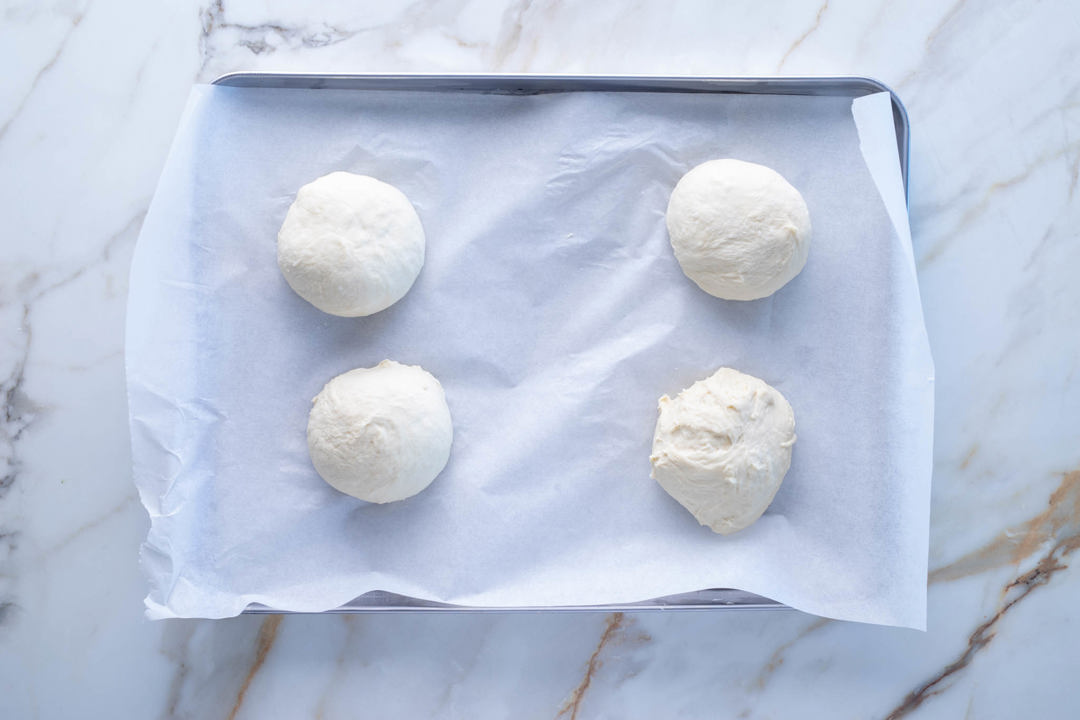
Portion - weigh the dough and divide by 8. Portion the dough into equal sized balls.
Shape - once the dough has been portioned into individual pieces, take one portion and gently cup it with your fingers. Using a circular motion, roll the dough against the work surface, applying slight pressure with your palms, until it forms a smooth, round ball. Repeat this process for each portion, ensuring consistent size and shape for uniform rolls.
Rest - allow the dough balls to stand for 10 minutes for the gluten to relax.
Preheat skillet - preheat a cast iron skillet (or other heavy based pan) over medium heat.
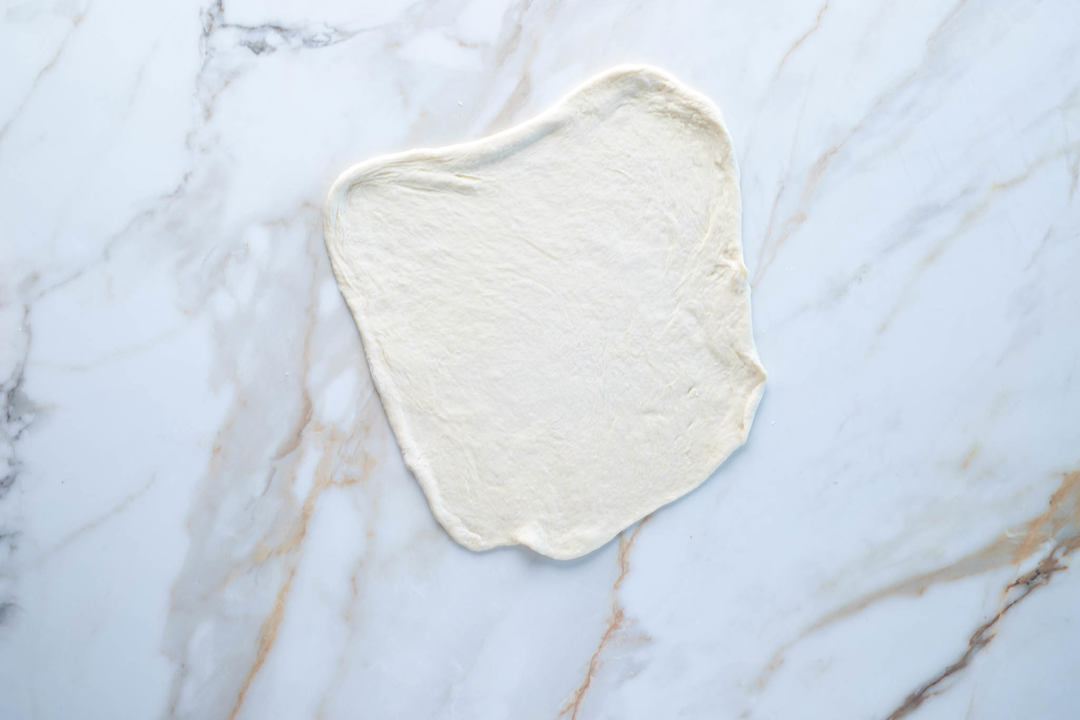
Roll out - use a rolling pin to roll a dough ball out to about 4-5mm (around 1/8") thick. The dough shouldn't be too sticky, but if you find that it is, add a little flour to the bench and top of the dough.
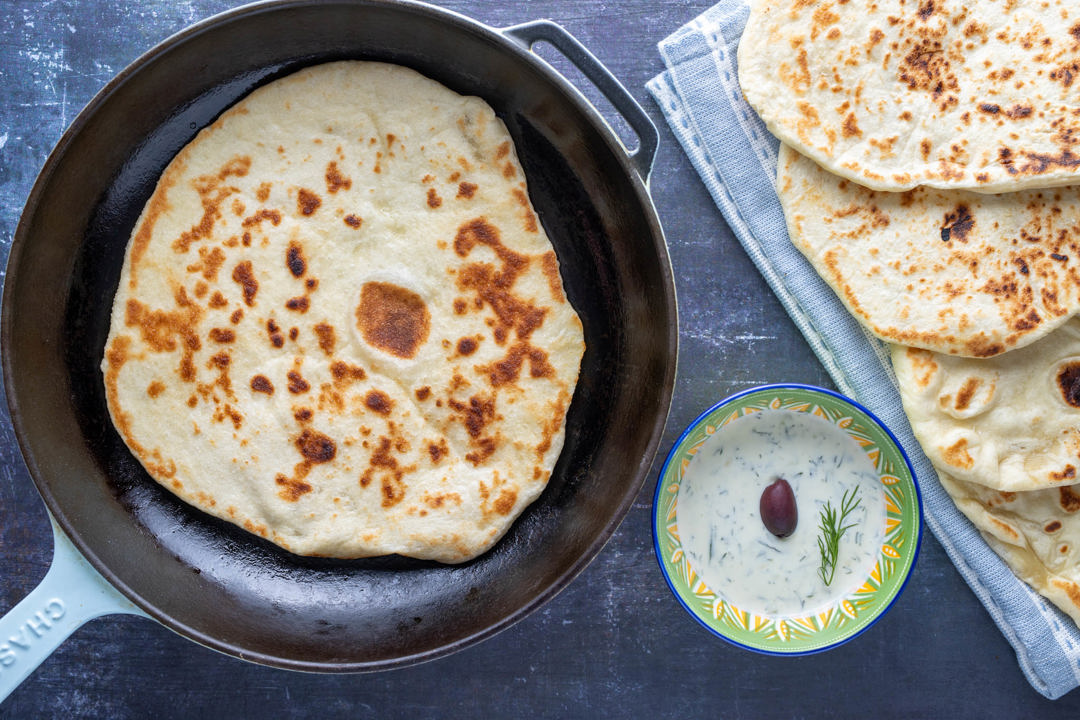
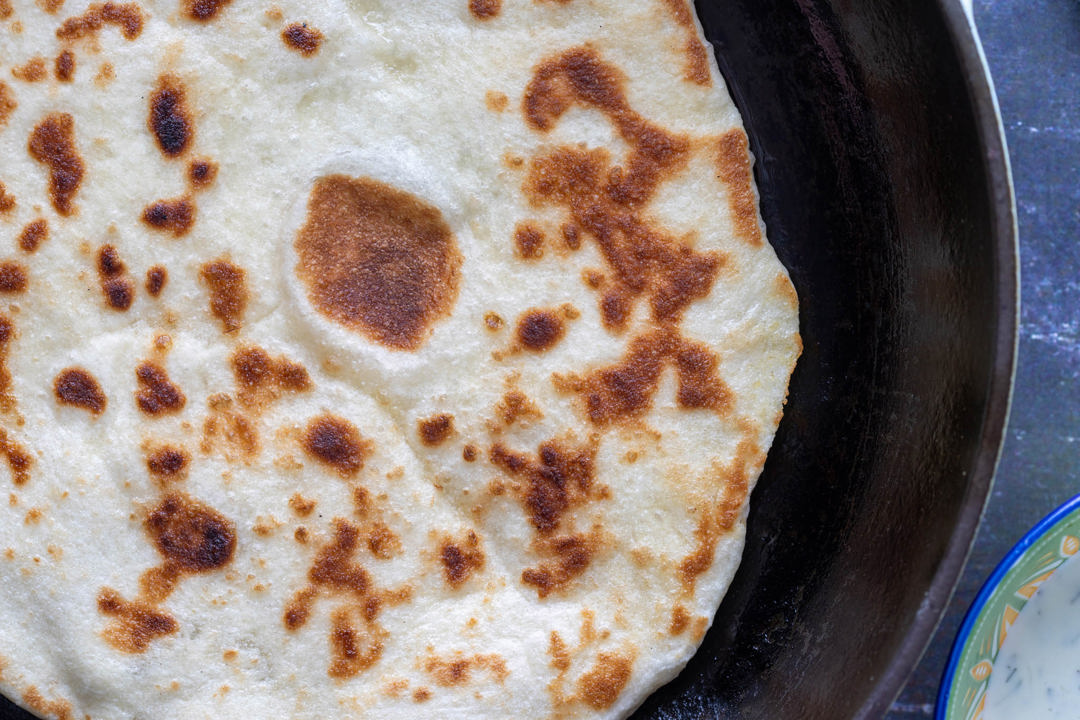
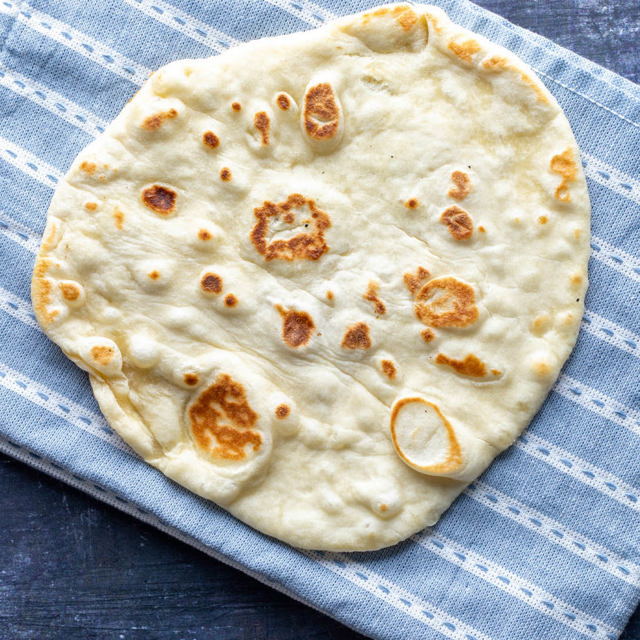
Cook - I use about 1 tsp oil per pita that I cook. Add the oil to the skillet and then add the rolled out pita dough. While the bread is cooking. roll out the next dough ball. Use tongs to flip the bread in the pan when needed - there should be some browning but don't let it burn. The bread is mostly cooked through by the time it's browned so the second side won't need long, and I don't apply oil for the second side.
Remove from pan and allow to cool on a wire rack. Repeat the cook step until you've cooked all your dough.

Tips
- High protein flour - use a high protein flour, not a cake flour. Aim for at least 11%. Using a higher protein flour will work, but might be chewier.
- Preheat the skillet before you start cooking the pita.
- After shaping allow the dough to relax for at least 5 minutes before you roll out your first pita. If you don't allow the dough to relax, you'll see it pull back in on itself while you're rolling it out.
- Making bread takes practice - make different types of bread and learn how the dough behaves and how it should feel. It's affected by relative humidity, gluten content of flour, ambient temperature, and a heap of other variables. Don't be dissuaded if your first attempt doesn't work.
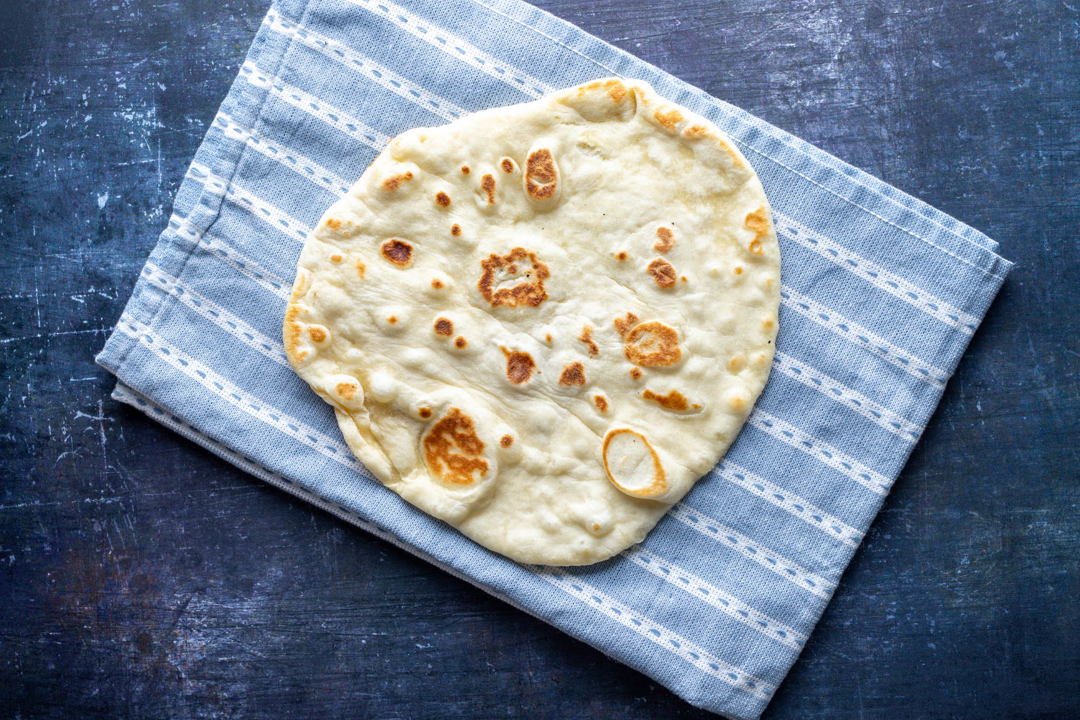
- Roll thinly - the dough will puff up a lot while cooking. Roll out to around 4-5mm thick (around 1/8").
Other types of 'pita' bread
In English, pita generically refers to a variety of leavened (yeast risen) breads. Some of these types of pita breads include:
- Turkish pide - refers both to a flatbread similar to this, as well as boat shaped dish resembling a pizza known as 'içli pide'.
- Arabic khubz - refers to an Arabic flat bread that has a pocket develop inside it from steam while cooking. This is perfect served with felafel.
Do I need to use bread flour?
No, regular all purpose flour is fine. Aim for a protein percentage of around 11-12%. You can use bread flour, which is higher protein, but it will be chewier. Using a cake flour (under 10%) is not recommended.
Storing cooked pita
Allow the pita to cool to room temperature before placing in a plastic bag - I use an empty loaf bag. Store in the fridge for 3 days, or freeze for up to 3 months. Make sure the bag is air tight to avoid the bread from drying out in the fridge or freezer.
Return the pita to freshness by microwaving briefly - it will soften when it warms up.
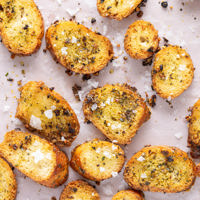
Pita crisps
So much healthier than chips! Cut your pita into triangles and brush with extra virgin olive oil and top with your favourite spice blends (za'tar, dukkah, etc). Bake in a 220C (425F) oven for 5-10 minutes until golden.
What to serve with Greek pita bread
So many choices for such a versatile bread!
- Souvlaki
- Gyros
- Felafel
- Hummus
- Tzatziki
- Greek Spicy Feta Dip "Tirokafteri"
You can also cut the cooked pita into triangles and bake to make pita crisps.
Greek Pita Bread
| Prep | Cook | Total |
|---|---|---|
| 15 mins | 20 mins | 90 mins |
- 800g all purpose flour 11-12% protein, see note 1
- 500ml luke warm water around 30C/86F
- 1 tbsp sugar
- 1 tbsp salt
- 2 tsp dried yeast
- 4 tbsp extra virgin olive oil
- 40ml olive oil or other neutral oil - not extra virgin
- Combine ingredients - combine all dough ingredients together in your stand mixers bowl.
- Mix - using a dough hook, mix for 8 minutes on low speed (1).
- Bulk ferment - remove the bowl from your stand mixer and cover with a tea towel and place in a warm place until the dough has doubled in size (about an hour).
- Degas the dough by tearing it away from the side of the bowl.
- Portion - weigh the dough and divide by 8. Portion the dough into equal sized balls.
- Shape - once the dough has been portioned into individual pieces, take one portion and gently cup it with your fingers. Using a circular motion, roll the dough against the work surface, applying slight pressure with your palms, until it forms a smooth, round ball. Repeat this process for each portion, ensuring consistent size and shape for uniform rolls.
- Rest - allow the dough balls to stand for 10 minutes for the gluten to relax.
- Preheat skillet - preheat a cast iron skillet (or other heavy based pan) over medium heat.
- Roll out - use a rolling pin to roll a dough ball out to about 4-5mm (around 1/8") thick. The dough shouldn't be too sticky, but if you find that it is, add a little flour to the bench and top of the dough.
- Cook - I use about 1 tsp oil per pita that I cook. Add the oil to the skillet and then add the rolled out pita dough. While the bread is cooking. roll out the next dough ball. Use tongs to flip the bread in the pan when needed - there should be some browning but don't let it burn. The bread is mostly cooked through by the time it's browned so the second side won't need long, and I don't apply oil for the second side.
- Remove from pan and allow to cool on a wire rack. Repeat the cook step until you've cooked all your dough.
- Flour - all purpose is fine; ideally 11-12% protein. Bread flour is also fine, but the pita will be chewier. Avoid low protein flours (such as cake flour).
- Rolling out - the yeast will be active, so don't roll the bread out until a minute or so before you're ready to cook it.